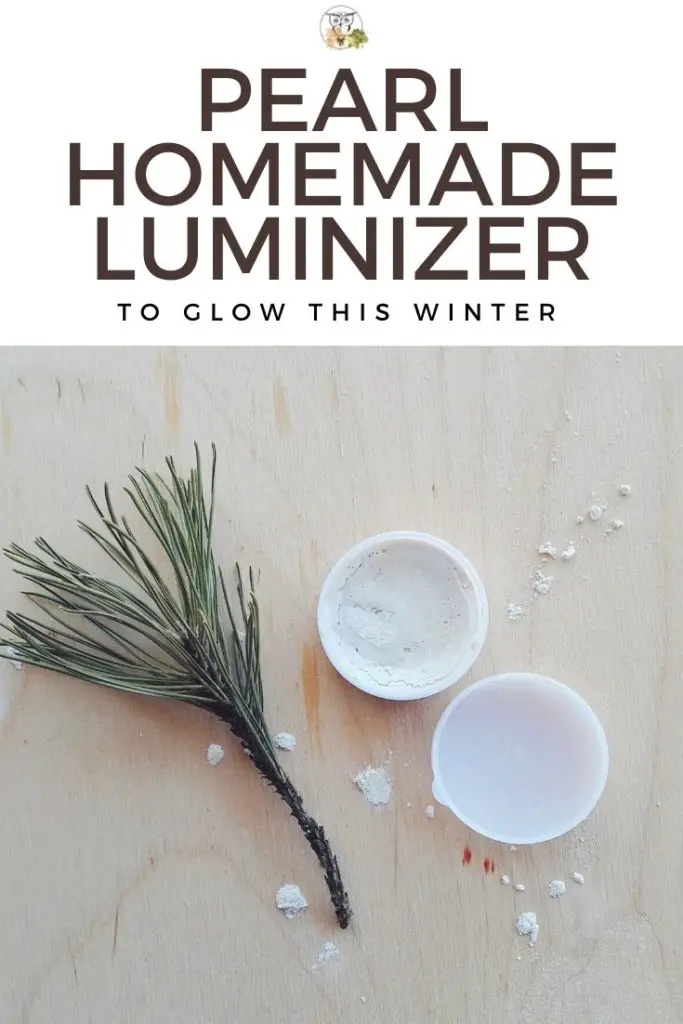
Does your skin need a kick of glow in the gloomy dark winter? Are commercial products out of your budget? I’ll show you how to save money and bring a luminizing tones to your skin.
Today, we’re making homemade luminizer, which won’t only make it shine, but it’s very budget-friendly! The recipe is easy to make, requires only a handful of ingredients and it makes a lovely gift!
Whether you’re looking for Christmas stocking filler ideas or something to make you stand out from the crowd this holiday season, this just might be what you need!
Ready? Let’s get illuminating!
Is it too obvious that I love snow? This homemade luminizer we’re making today is another part in the Arctic Illuminating series, the third recipe along with
We’ll be using some of the same ingredients in the recipe, with an addition of another one. I’ve prepared all my batches for this season’s gifts, so now I’m sharing the recipe with you.
Apart from the fact that it’s budget-friendly and easy, this also makes a great idea for a DIY party on a girls’ night in! You can all pick different micas and oils and test which one you prefer best!
Buying the ingredients together really allows you to stay on the budget. Plus, 5g of luminizer goes a long way, so it’s something that’ll last you a long time.
Easy to make
Makes a lovely gift
Lasts a long time
Affordable
Shimmery
Great Christmas stocking filler
How to make homemade luminizer?
The key to the homemade shimmer product is the mica powder.
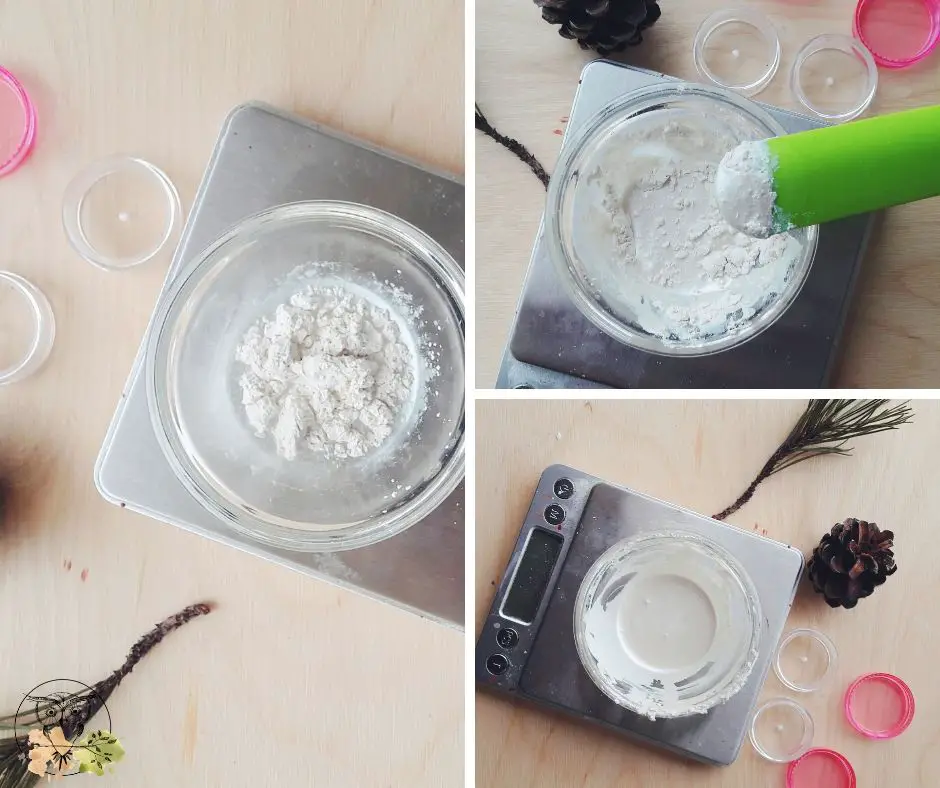
We’re only using 5 ingredients in this recipe, so it’s really easy to make. The key is to melt the oil phase first, add mica powder and stir well until it’s evenly incorporated into the liquid mix.
Then, we pour it into the container and that’s it!
Optionally, you could make this homemade luminizer with the butters we’re using in this series (mango and cupuacu), but you’ll need a wax to bring it all together; ideally, candelilla wax if you’re vegan or beeswax if you’re not.
I haven’t made it with wax yet, but you can try. Obviously, if you do that, you’re completely changing the whole recipe, apart from the result.
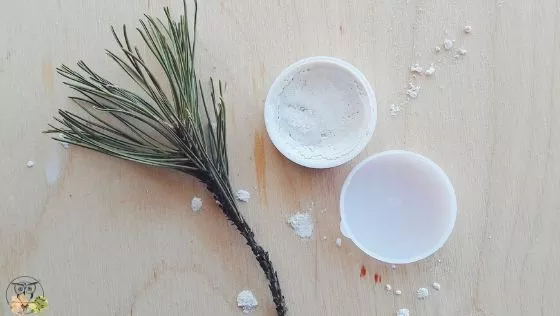
And the result? We’re looking for a creamy texture of a cream that applies easily and absorbs into the skin nicely. I was trying to get the blend of all ingredients just right so that this shimmer cream (how I like to call it) doesn’t leave any greasy feeling on the skin. In fact, it has a powdery and lightweight finish and you’ll never notice that you’re even wearing it!
The solution was a blend of cetyl alcohol, which gives it a creamy and firmer texture, along with tapioca starch to cut down the greasiness of hazelnut oil, even though it’s a lightweight oil and absorbs into the skin quite quickly.
The recipe makes about 5g of luminizer and that’s bound to last a long time.
Arctic Pearl DIY Luminizer
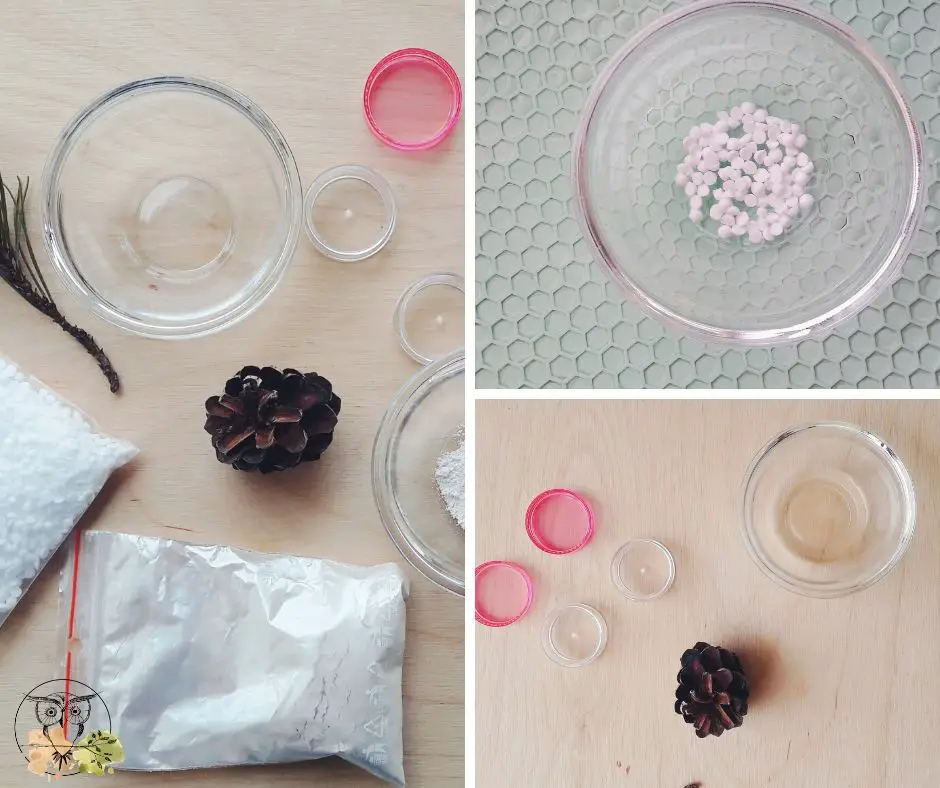
Ingredients:
- o.6g cetyl alcohol
- 2.5g hazelnut oil
- 0.5g pearl mica powder
- 0.2g tapioca starch
- 0.1g vitamin E oil
Process:
- Prepare a water bath; you’ll need a small pan with a small heat-proof beaker (or anything that holds the temperature well)
- Weigh cetyl alcohol and hazelnut oil in a beaker
- Place it in the pan and wait until cetyl alcohol is completely melted
- Remove the beaker from the pan, weigh in tapioca and mix it well until it’s evenly incorporated into the mixture
- Next, weigh in mica powder and stir well until it’s well incorporated
- Add vitamin E oil, stir well
- Pour the luminizer into a clean, dry container
- Use at will, a little goes a long way!
Notes:
- You can switch hazelnut oil with macadamia nut oil, which is also a part of the series. Optionally, if you have none on hand, you can also change it for another lightweight oil, such as grapeseed
- Pearl mica is my choice of shimmer, but you can change it and add a different mica to adjust it for the skin color; bronze and gold mica would work nicely too!
- If it’s not too luminizing for you, you can add more mica powder into the mix (up to 1.5g)
- You could add a drop of essential oil to the recipe if you like, but only a drop as this is a small quantity and too much could irritate the skin or the eyes
- Substitute tapioca with cornstarch or arrowroot powder
What is luminizer used for?
Luminizer is an excellent way to enhance your skin in a way that it appears more youthful, glowing, and softer. Luminizer is a shimmery product that highlights certain areas of your face to add a soft illuminating effect to your skin.
How do you use luminizer on your face?
To use this homemade luminizer, simply dab a bit of it onto your finger and apply it on your brow bones, cheekbones, eyelids, and anywhere else you want to glow and emphasize.
What’s your favorite mica color to use on the skin?
Stay Wild!
-Kat
Have you made this DIY luminizer? Tag us on Instagram #wildfordiy
Help support Wild for Nature
Many of you have asked if there’s a way to help support Wild for Nature. I’ve signed up for Buy Me Coffee. If you love what I do, learn from me, sell anything you made from my recipes, and want to see Wild for Nature grow even more, I’d be thrilled if you’d consider buying me a coffee! It works as a one-time or a monthly donation of $3. You can also get beautifully designed PDFs with a series of recipes and other resources I publish there, to help you learn and get creative at home! I can then use that money to further develop and grow Wild for Nature and you can help me continue with wild creations and resources!