You want to make skincare, which is great.
The hobby is a rewarding one and it can turn into a lucrative business if you wish.
But the investment right at the start can be pricey. Getting all the equipment isn’t too cheap, and that’s before we even get to the ingredients (which is where the real challenge begins!)
So let’s have a look at the top 11 tools you need to start making skincare at home!
You’d be surprised, but getting tools for your skincare business doesn’t have to break the bank. In fact, I started it all with only a handful of tools that still serve me today – after five years I still keep using the same tools and these have proven to be the best value for money.
That’s why I compiled a list of all the equipment I suggest you get when you’re first starting out.
As it said, it doesn’t have to be expensive. If you get smart about your tools, you have more space and budget to be finicky about the ingredients ;).
The secret is that you don’t have to buy everything right away.
In fact, I’ve made skincare with a short list of items for years. I believe my investment in the equipment hasn’t been more than $100 and yours doesn’t have to be either.
I started investing much more when I decided to make skincare my business, but we’ll talk about that some other time. But go here to see how to start your own skincare line!
Now, let’s have a look at the must-have tools you need to make skincare at home.
1. a workbook + formula spreadsheet
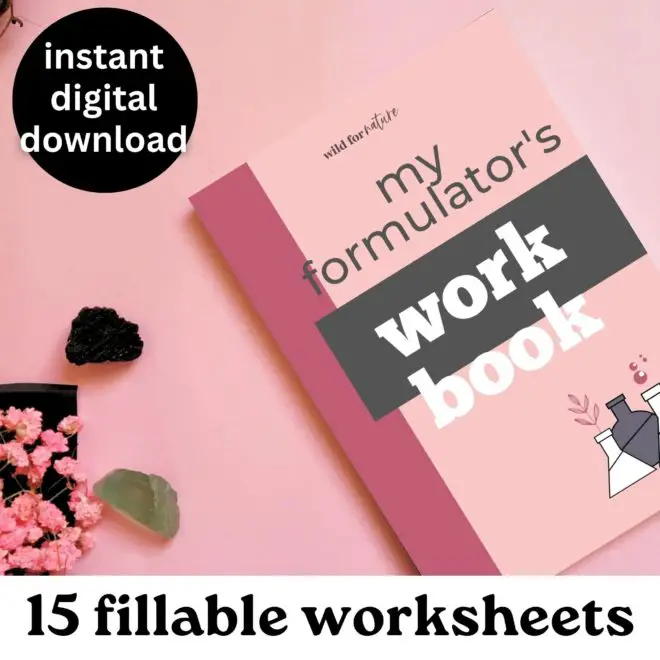
Here’s the thing: you can easily start formulating and writing down notes with a blank notebook and pen. But after years of experience, I can’t recommend enough getting (or making) your own formulation notebook.
There’s nothing wrong with a classic old notebook, but I’ve realized that a proper notebook, designated just for formulations, can make all the difference because they are often designed with formulators and their work in mind.
Combining that notebook with a formulator spreadsheet can really elevate and speed up your formulating process, which is crucial if you plan on getting more serious with your skincare.
That way you can keep all your formulas, tools, suppliers, ideas, and comments organized from the very start. Spreadsheets also allow you to calculate different batches of products within seconds.
Here’s why I cannot imagine my life without them:
- Follow product development from start to finish
- Keep your formula-related notes in one place
- Test each product separately for stability and write notes
- Have complete control over the products you’re making
- Print the notebook worksheets and other pages separately as often as you’d like
- 4 different notebook colors available
- Develop specific formulas for unique/exclusive events
- Calculate batch size and cost within seconds
- List all your suppliers in the document – from ingredients, packaging, containers…
- Keep new product ideas in one place
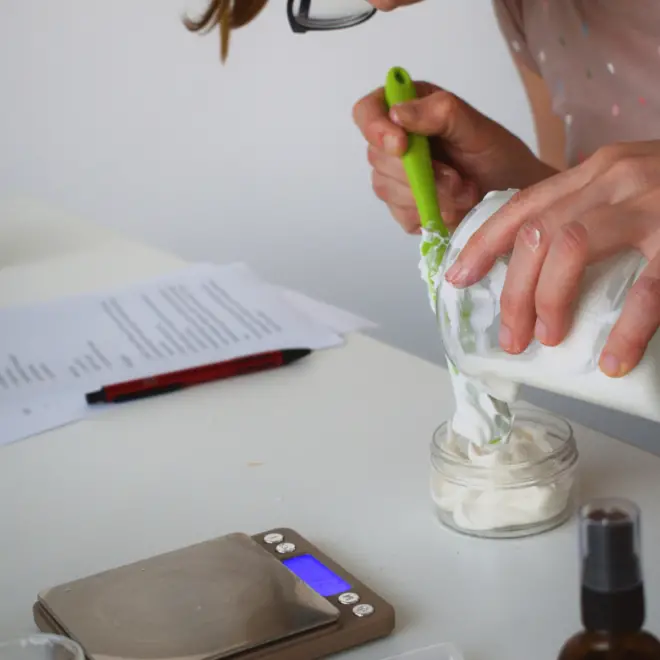
2. A reliable scale
This is the most essential and basic piece of equipment you need to get started. Since quantities of skincare ingredients are measured in grams, a scale helps you produce consistent results every single time.
If you’re making skincare for yourself, a small scale will do – there’s no need to spend a ton of money. I’ve been using this kind of scale for years. I must say it’s been repaid a hundred times over.
A simple scale with a weighing range from 0,01 to 500 g is the best way to get started for a few reasons:
- Perfect for smaller and larger batches
- The minimum investment to help you get started
- Very easy to use and clean
- Automatic tare
- Automatic shut-off
- Lasts a long time
- Reliable and durable
To be honest, you’ll need a larger scale as you grow your business. If you’re in Europe, your scale will also have to be calibrated before use. Such scales are more expensive and you pay for the calibration certificate separately. Keep that in mind if you’re preparing your skincare business budget. I completely forgot about the scale and I have to say my bank account was not too happy as I was trying to stick to a very strict budget.
Still, the size and the weighing range of the professional scale will depend on your specific needs and the batch size.
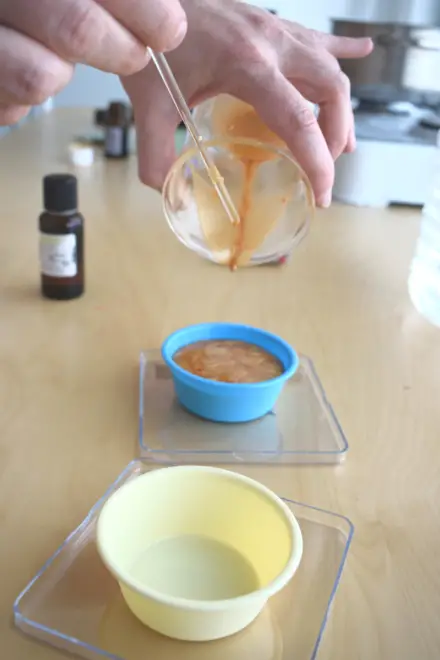
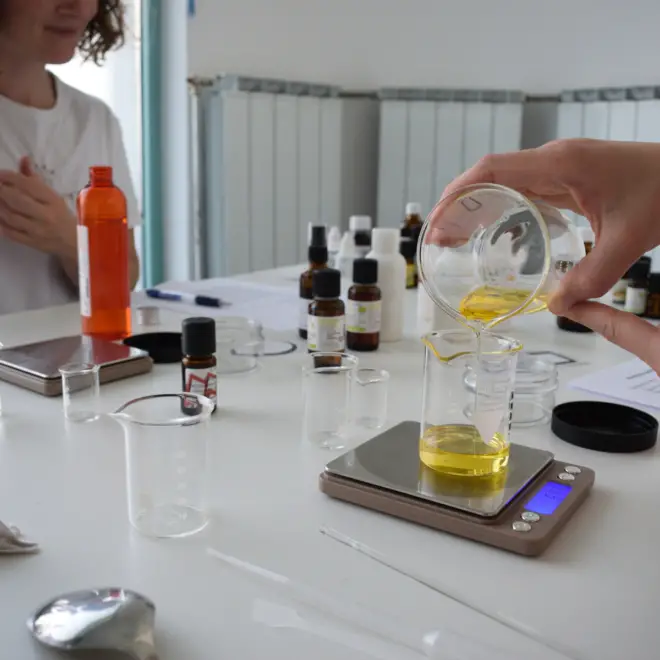
3. Heat-resistant beakers and jugs
Many formulas require you to warm up ingredients (especially when making lotions or balms), so a quality heat-resistant beaker is a must. The size selection is very wide, but you don’t have to buy all of them at the same time.
Getting a few different sizes should be enough- I suggest getting a couple of 50ml, 150ml, 250ml, and 400ml. This would be more than enough for smaller batches of balms, serums, lotions, tonics, and other liquid products.
These are super easy to use and clean. They dry and disinfect easily, are durable, and are made of heat-resistant (borosilicate) glass, which means they don’t break or shatter with temperature change.
On the other hand, I recommend aluminum bowls which are great for anhydrous products for a few reasons:
- Heat resistant
- Budget-friendly
- Durable and versatile
- Easy to clean, store, and disinfect
- Perfect for body scrubs, bath bombs, body butters, bath salts, and more
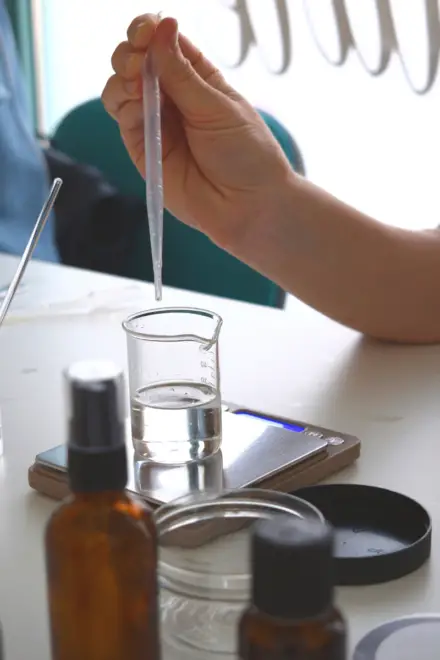
4. Pipettes
Pipettes are super handy when you’re adding ingredients in drops – in very small amounts. These can be great for dozing essential oils, preservatives, and special extracts that are used in low amounts.
Pipettes can be plastic or glass – plastic ones are very affordable, but they’re often made for single use so using glass pipettes is a better option since they are more sustainable. They can be difficult to clean but a fine brush and hot soapy water can go a long way.
5. Thermometer
A thermometer is essentially important for a few reasons:
Measure the temperature of the oil and water phase when making lotions and other types of emulsions
Measure the temperatures of oils and butters so that you don’t overheat them when making anhydrous products.
Measure the temperature of products before adding cool-down ingredients (vitamin E oil, preservative, essential oils…), which must be below 40 degrees.
Thermometers aren’t expensive; getting a few glass thermometers will give you the necessary results and will easily last you years to come – as long as you don’t break them.
 6. Sanitizer /Isopropyl Alcohol
 6. Sanitizer /Isopropyl Alcohol
Isopropyl alcohol will help you keep your equipment, containers, working space, and utensils clean and disinfected. You can make stable and safe products only with clean tools.
I like to pour it into a spray bottle and keep it in the lab – I spray it in working areas, utensils, bottles, and jars for final products and other equipment that comes into contact with skincare products. I also like to wait until the alcohol evaporates completely before letting it come into contact with products of any sort.
7. Spatulas and stirring equipment
Spatulas and stirring equipment can be very cheap and affordable – spatulas are super handy when it comes to mixing viscous items, such as lotions, scrubs, and others. For tonics and liquid items, I recommend glass rods as they’re easier to clean and disinfect.
Want to sell your skincare? Here’s a list of equipment you need to get started.
This is the end of the mandatory equipment you need.
As I said in the beginning, it’s quite affordable.
The list continues with the items you don’t necessarily need. In fact, the equipment depends on the type of products you want to make.
For example, you want to make bath bombs and maybe body butters. In that case, you don’t need a hand-stick blender. You do need aluminum bowls and a few glass beakers.
However, if you want to make lotions, but not bath bombs or butters, you definitely need a hand mixer and glass beakers.
Pro tip: think about what you want to make before you invest in all the equipment. You can buy the things you need bit by bit and stay on the budget. Remember, you still need the ingredients, and some can be costly.
8. Hand stick/ immersion blender
If you’re planning on making lotions and soap, an immersion blender is a must. While you can try stirring both phases by hand when making an emulsion (lotion), a stick blender will make the process much easier and more effective.
What’s more, these stick blenders don’t have to be super expensive – I have had a stainless steel mixer for a few years now – something like this one, and it has worked perfectly. Just make sure it’s really stainless steel so that you can clean it easily and thoroughly. Even if you’re just starting out with selling your skincare, a stick blender will do great for smaller batches.
9. pH meter or pH papers
Most skincare products we use daily have to fall within a specific pH range. Not just because this is the best for our skin but also because specific ingredients only function within a specific pH range.
While you can reach the recommended pH of your products with the most basic ingredients (oils, water, hydrosols, vegetable glycerin), there are some that require you to change or adjust the pH levels so that the products are safe and stable.
pH papers are very easy to use and quite affordable. Most skincare makers begin with these, but I would recommend a pH meter over the paper at any time because it is much more reliable. Naturally, the choice is up to you. Depending on the type of products you make, this section may be irrelevant to you (anhydrous products).
10. Hand mixer
Hand mixers are super affordable and very handy when you’re making body butters and scrubs. They aren’t useful for many other products, but they can turn a solid mix of oils and butters into the most decadent whipped body butter/scrub of all time.
These mixers are easily available, just make sure to use them specifically and only for skincare products. I generally recommend that you keep your equipment for skincare-making separate from your cooking equipment.
11. Additional tools to make skincare that you probably already have at home:
- A pan or a pot for double-boiling the water
- Mini bowls (glass, ceramic)
- Stirring tools (different size spoons, etc.)
- Plastic foil to cover batches that need to sit for a few hours/overnight.
- Protection: hand gloves, dust mask
- Kitchen paper
- Kitchen towels
What about you; what would be the top tools to make skincare you can’t imagine being without while DIYing skincare?
Let me know in the comments below!
Help support Wild for Nature
Many of you have asked if there’s a way to help support Wild for Nature. I’ve signed up for Buy Me Coffee. If you love what I do, learn from me, sell anything you made from my recipes, and want to see Wild for Nature grow even more, I’d be thrilled if you’d consider buying me a coffee! It works as a one-time or monthly donation of $3. You can also get beautifully designed PDFs with a series of recipes and other resources I publish there, to help you learn and get creative at home! I can then use that money to further develop and grow Wild for Nature and you can help me continue with wild creations and resources!