Hey guys! I’m happy to present our guest post today from Jennifer Hines over at Beenies and Weenies! Jennifer shares a ton of tips, free patterns, and many other goodies on her blog, make sure to check it out along with her crochet catalog, and her own content marketing business! Inspirational! Enjoy the read!
I have a confession to make. I am a craft materials hoarder. I just don’t like throwing things away even if I’ve already used it. This especially applies to scrap yarn and fabric. I have drawers that are spilling over with this stuff for “just in case” scenarios where I might need an emergency piece of scrap fabric. And I just realized that this is becoming a problem.
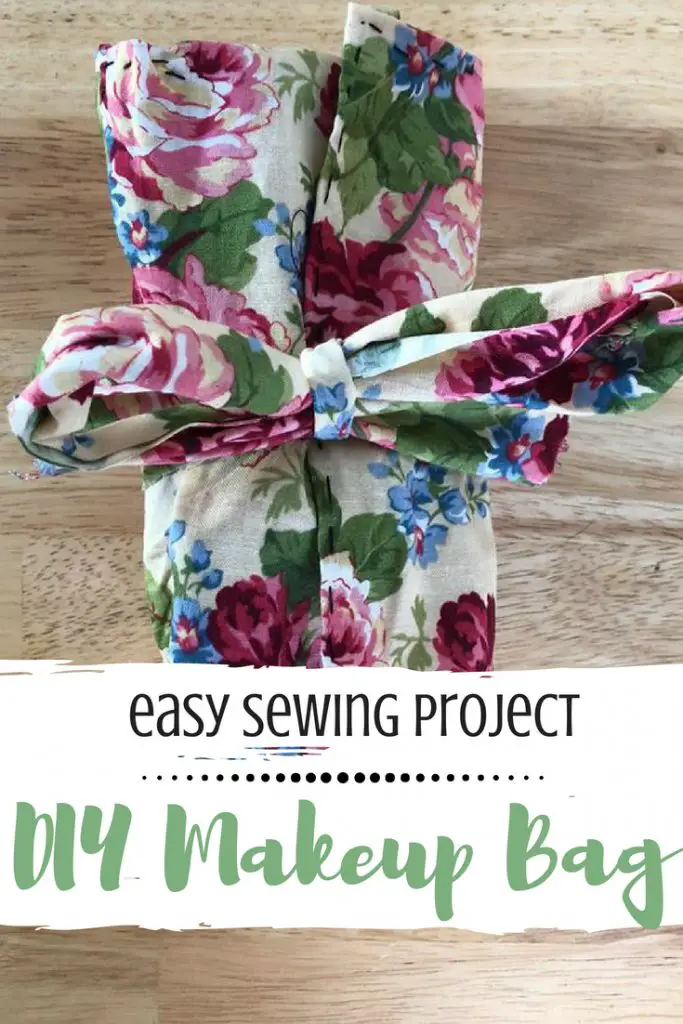
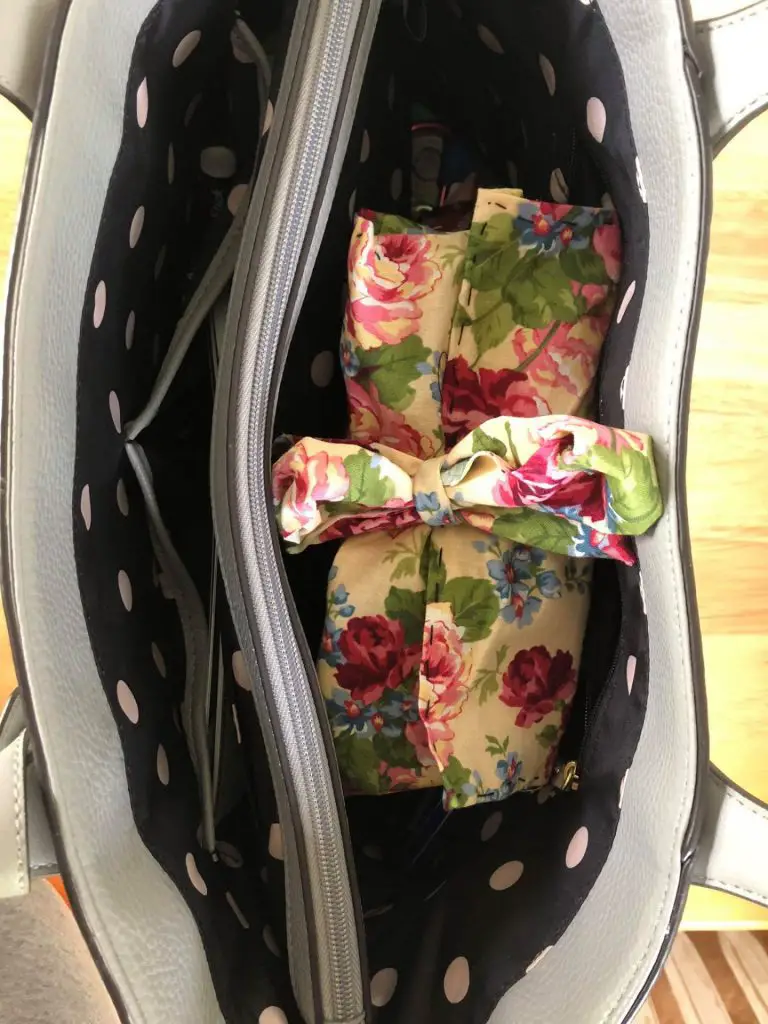
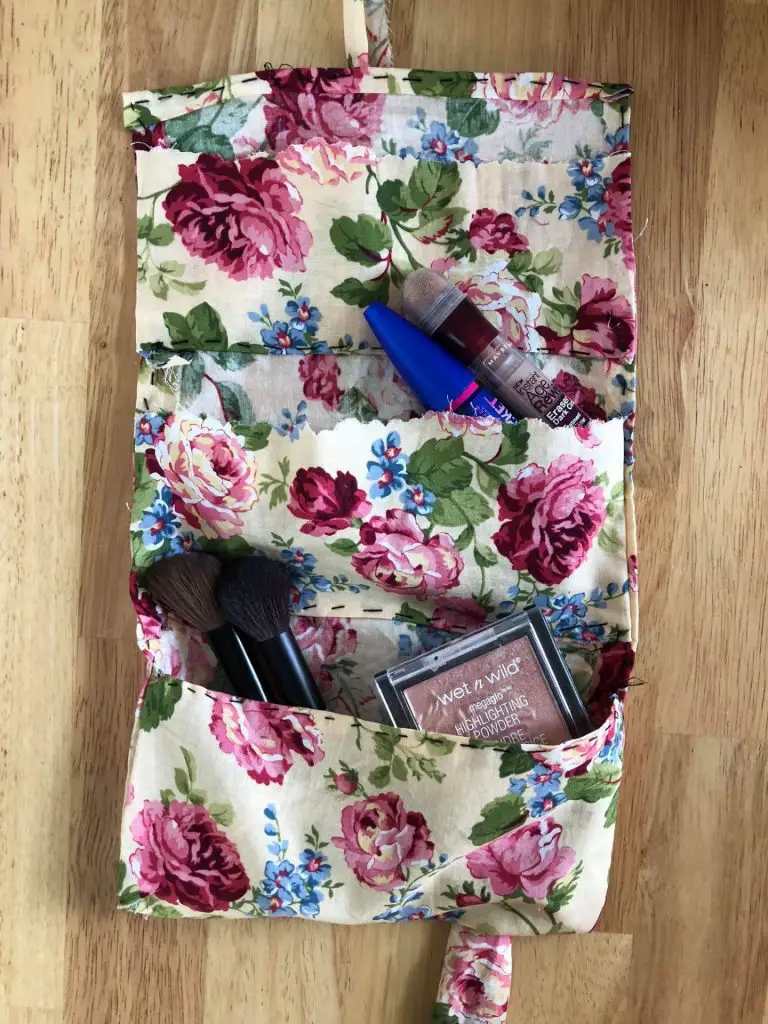
Seeking for any and every use for my scrap fabric, I came up with this DIY makeup bag! It was a simple solution to a problem I have been having for ages, and not just my hoarding problem. I have a messy purse where everything is just rolling around like crazy. So, I told myself that I would devise a way to use my unending supply of scrap fabric to put some organization into my purse. And, voila! This DIY makeup bag was born!
My favorite part of this project is the fact that you are using scrap fabric. Instead of just throwing away remnants from old projects, you get to create something brand new! You can even pick up fabric remnants from any store that sells fabric if you are not an avid sewer with a stash of scrap fabric. Recycling scrap fabric is a great way to help the environment and prevent even more waste from ending up in a landfill somewhere. I am constantly trying to find ways to reuse materials and keep them from ending up in a landfill, like turning a microwave cart into a bar cart or my scrap yarn soap savers.
Since you are using scrap fabric for this project, don’t expect everything to end up perfect. What I mean is, if the edges of your scrap fabric are jagged or slanted because of how you cut it for a previous project, just roll with it! You can even use mismatching pieces of fabric if you don’t have enough of one pattern! Recycling scrap fabric for this project makes your final product unique. No one will have a roll-up makeup bag that looks like yours, and the imperfections will make it that much more unique!
The other nice thing about this DIY makeup bag project is that it is an easy sewing project that is great for beginners. Even though I have been sewing since my mom deemed I was old enough not to hurt myself with a sewing needle, I do not consider myself an expert. I have made several skirts and done a lot of alterations to clothes, but sewing a straight line is something that just escapes me. That’s why I designed this sewing project to be easy and beginner friendly. This is a great project to introduce yourself to sewing and start developing your own sewing techniques.
For this easy beginner’s sewing project, all you need is scrap fabric, scissors, a needle, some thread, and just an hour of your time! Let’s get started!
Materials:
- Scrap Fabric
- Scissors
- Needle & Thread
Steps:
- Cut your scrap fabric into multiple pieces. One measuring 17.5 inches by 9 inches, two measuring 9 inches by 3 inches, and one measuring 30 inches by 1-2 inches.
- With the right side of the fabric facing up (the side of the fabric where the pattern is most prominent), fold the bottom of the largest piece of scrap fabric up about 4 inches. Make sure the fabric is folded straight across and use straight pins to keep the edges in place. It will look like everything is inside out but we will fix this later.
- Thread your needle and, starting at the lower right-hand corner of the pocket you just formed, attach your thread and sew up that side. When you reach the top of the pocket, using either straight pins or your hands, fold the jagged edge of pocket under to create a straight line and hem across to the other side. From here, sew down the last side. When you reach the last corner, tie a knot in your thread and cut it. Turn the project right-side out.
- Next, fold the remaining sides of the large piece of scrap fabric inward about a quarter of an inch and pin them down. This will be the hem. Don’t worry about the jagged edges because the pockets we attach will hide them.
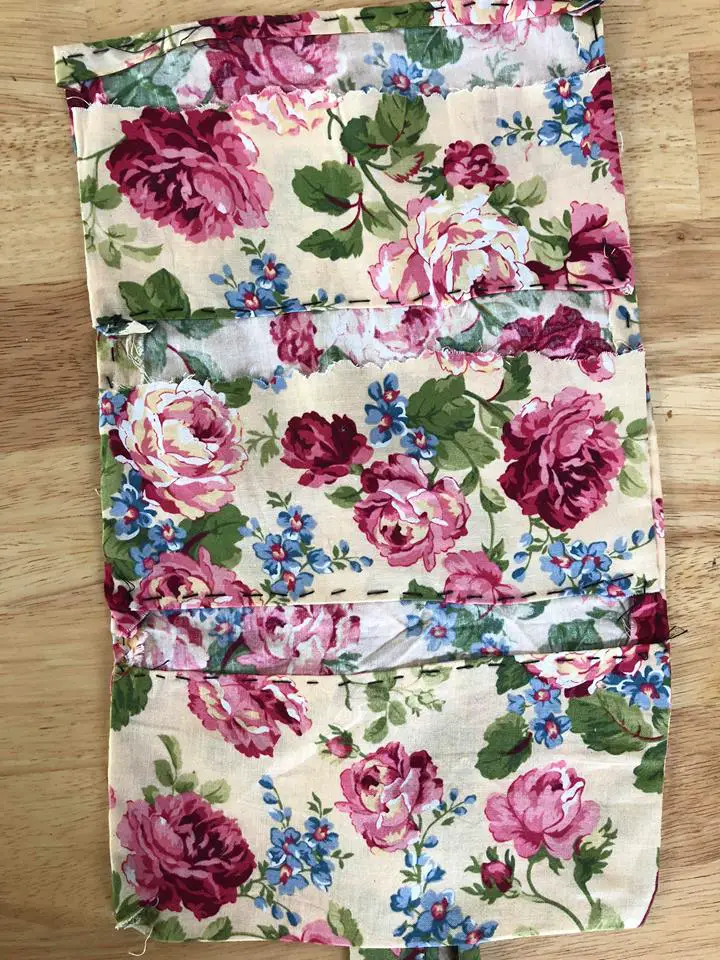
- On top of the pinned hems, place the two matching pieces of scrap fabric about half an inch apart and half an inch above the large bottom pocket. Since I cut my scrap fabric from the same material, I tried to line the pattern up on the pockets as best as I could. When you have the pockets where you want them, pin them down with the sides folded in like the hems.
- Starting above the large bottom pocket on the right-hand side, start sewing up the side hems. When you get to the first pocket, sew the side of the pocket and the hem of the larger fabric together at the same time, working under the larger part of the pocket. This will ensure the hem is hidden and should look the same at the hem on the large bottom pocket after it was turned right-side out. Continue up the side and with the second pocket. Then move on to hem the top and down the opposite side of the project. Knot and cut your thread.
- Now, sew along the bottom of the top two pockets (to make them official pockets) and hem their tops if you desire. I hemmed the bottom of my pockets and left the tops jagged because, personally, I liked the way the jagged edges blended into the background of my scrap fabric.
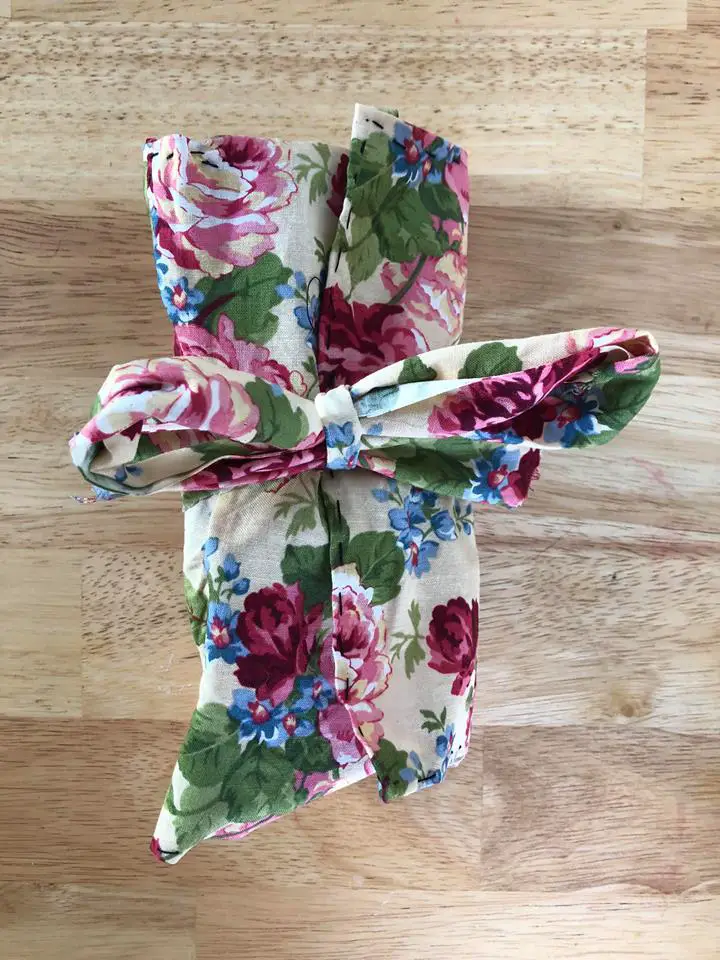
- Lastly, take the last piece of scrap fabric that measures 30 inches long and fold and hem it so all the edges are straight. Then, attach the middle of the strip of fabric in the very middle of your new rolling makeup bag with just a couple of stitches. Make sure to attach the strip of fabric so that it will tie around the middle of the makeup bag and keep it closed when rolled up.
And that’s it! You just saved that fabric from ending up in a landfill AND created a way to organize your space. Good job, you!