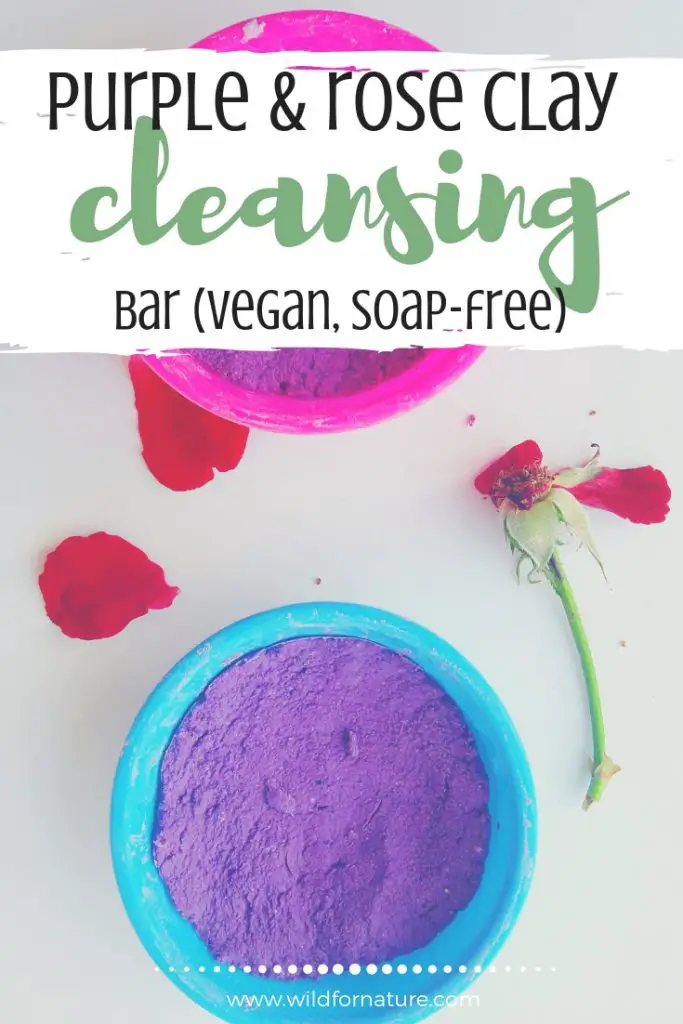
I’m in love, you guys. I know it’s Halloween-and-Christmas season, but I’m all about the pink and purple. I’ve made this gorgeous rose clay cleansing bar that I just cannot get enough of!
It smells amazing and it has mild and gentle exfoliating properties that leave your skin cleansed without drying it out! Yes, it’s a clay cleanser that doesn’t dry out the skin, how awesome is that!
So, I’m proud to present (for all the days when you need some me-time) my purple & rose cleansing clay bar!
Oh, this pretty thing is easy to make.
Yes, it’s meant for normal skin. But you can use it too, it’s nourishing and gentle enough for anyone!
Exfoliating, definitely!
It’s all about pink and purple and floral!
Vegan! All vegan!
Plus, if you have any type of clay laying around and don’t know what to do with it, feel free to use it in a clay cleansing bar recipe (not necessarily this one, but in one, definitely)!
Anyway, if you need some color in your life right now, read on!
*Some of the links in this post might be affiliate links. Affiliate links come at no extra cost to you. These links allow me to share the products I authentically recommend (and use) and support Wild for Nature by receiving a small commission.
DIY clay cleansing bar
Let me begin by saying that this is not a cleansing bar soap. There’s absolutely nothing soapy in here. It’s more like a clay exfoliating oil cleaning method that leaves purple traces of color on your face (until you wash it off).
I intentionally combined the ingredients in the recipe with a few goals in mind:
- Must be easy to use
- Should be exfoliating
- But it has to stay nourishing
- The smell has to resemble the appearance (for no apparent reason)
All the ingredients in this DIY clay cleansing bar work to gently exfoliate your skin. They’re beautifully not drying and the smell is amazing!
This clay cleansing bar leaves your face gorgeous! It’s clean because of the clay, it’s undergone a mild and gentle exfoliating process, and it was fed nourishing oils and butters! Seriously, this has become my current favorite as far as DIY skincare is concerned.
I love how balancing the clays and the oils are in the recipe. My skin seems to be more on the normal-dry side lately, so I was surprised at how well it accepted cocoa butter and all the nourishing ingredients in the recipe! At first, I thought this cleansing bar would be way too heavy to my liking, but it’s really lovely!
It also makes an excellent gift (hello, Christmas)! I’m already planning on making a few of these beauties in December.
Purple clay
Okay, this clay has a gorgeous color. I’ve made a face mask before, and sadly, I have to report I haven’t found much use of it. Didn’t like the way it’s just not absorbing enough. It’s very gentle, definitely, but my skin feels like it’s just too gentle for it. So, I wanted to find a way to use it all and use it well. That’s how this clay cleanser came to mind!
Purple clay is a combination of magnesium and kaolin. It is not as absorbent as bentonite or green clay. If you’re dealing with acne and oily skin, this is not the clay of choice. Still, it boosts the circulation, works as a very mild exfoliator, and cleanses as well as revitalizes the skin.
White kaolin clay
Another win for a sensitive skin, white kaolin clay is otherwise recommendable for all skin types (also for dry skin). It has rich mineral components and a neutral ph. It has regenerative properties and, like its fellow purple, it boosts the circulation, gently exfoliates and cleanses the pores.
Shea butter
Well, shea butter is just nourishing all around. It promotes the regeneration of the skin while feeding it with a number of goodies that it contains. Some of these include vitamin A, a small amount of allantoin, as well as fatty acids.
It has minor antibacterial properties and it successfully maintains the skin hydrated. It promotes the healthy appearance of the skin and I just can’t seem to get enough of it! Seriously, my relationship with shea started out as love at first sight!
What’s more, shea is a non-comedogenic butter, so dry skin, sensitive skin, and mature skin, you go, girl! I normally don’t use it on my face, but this rose clay cleansing bar recipe just called for it!
Cocoa butter
Yes, cocoa! I figured this recipe should be based on nourishing and gentle yet exfoliating properties. Cocoa butter is a bit more solid than shea, so I’ve included it as something that should help to maintain this DIY clay cleansing bar together.
Apart from the obvious practical reason (and the smell!), cocoa butter is also very nourishing. It helps to protect the skin from the free radical damage due to the high antioxidant content. What’s more, cocoa maintains the elasticity of the skin and keeps it hydrated.
Cocoa butter has a comedogenic rating set at 4. If your skin is seriously acne-prone, I’d recommend you not use this clay cleansing bar. If you really want to (because it’s so pretty, right?), substitute cocoa butter with mango butter instead.
Peach kernel oil
A bit more on the greasy side, peach kernel oil gives this recipe additional oily kick. Peach oil is very nice, yet its comedogenic rating is set at number 2, but it’s high in oleic acid and therefore more recommended for a dry and sensitive skin.
I’ve found some information that it’s great for oily skin as well since it’s similar to apricot kernel oil. I can’t tell, you can give it a try. In case you have some other non-expensive carrier oil at home that’s not comedogenic, feel free to swap it for this one.
Rose hydrosol
Well, what’s there not to love about rose hydrosol? I decided that I didn’t need an excuse to add this beautiful fragrant ingredient to my DIY clay cleansing bar recipe! It’s soothing, toning, hydrating for the skin. It smells ridiculously amazing and it works great for any skin type. In other words, it gives this cleanser an extra kick!
A soothing essential oil blend
When making this clay bar, I decided on two oils, both of them soothing and sensitive-skin approved. Definitely, they’re optional, but I wouldn’t hesitate to include them if I were you. even though you can omit them, I won’t mind, promise.
Anyway, lemongrass essential oil has a citrusy and uplifting scent. It can help to reduce the puffy skin on the face and it’s appropriate for all skin types. It’s a natural cleanser and it has skin-healing abilities! It nicely completes the other scents in the recipe and promote glowing skin at the same time!
At the same time, grapefruit oil has a light, citrusy and fresh scent. It has astringent and toning properties. It adds a kick of freshness into this recipe and it also positively affects your mind (in a relaxing, soothing, and uplifting way).
Just a word of caution, grapefruit oil is phototoxic. That means you shouldn’t use this clay bar right before you step outside into the direct sunlight. Use it in the evening and all shall be well with your face and the world.
Pink & Rose Clay Cleansing Bar
Ingredients:
– 2 TBSP purple clay
– 3 TBSP white kaolin clay
– 2 TBSP liquid shea butter
– 1 TBSP liquid cocoa butter
– 1 TBSP peach kernel oil
– 2 TBSP rose hydrosol
– 1 TBSP vegetable glycerin
– 1 TBSP grapefruit seed extract (optional)
– 7 drops lemongrass essential oil
– 10 drops lemongrass essential oil
Instructions:
- Melt the butters in a double boiler; set aside and let them cool down a bit
- Combine rosewater, glycerin, grapefruit extract with essential oils if using
Combine clay powders in a bowl - Add the liquids from step 2. to the clays. Stir well
- Add in the oils (including peach kernel); the mixture will turn into a dough-like consistency
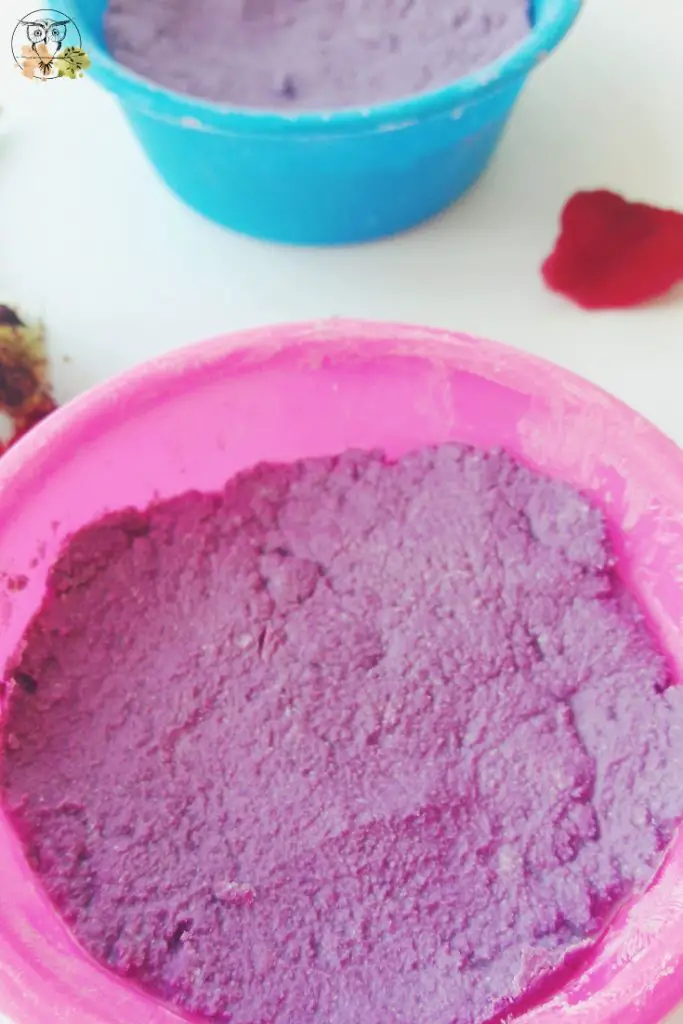
- Mash the purple ball until all the ingredients are combined
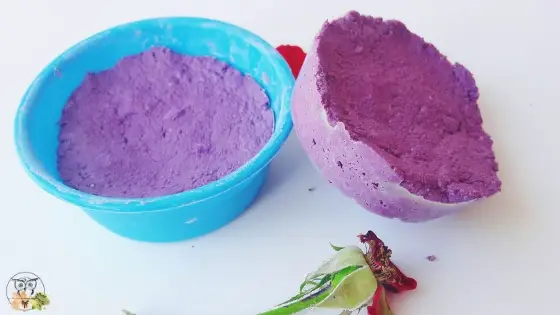
- I separated the “dough” into two balls. I placed each in a silicone mold. I pressed it down and shaped it evenly (as you can see on the photos)
- Set aside for a few days and let it solidify and dry completely
- To use: wet your face. Wet one side of the bar under the running water for a second or two
- Gently rub the wet part on your face
- You’ll have a thin clay remains on your face; like a mild face mask.
- Leave the mask on for a minute or two (until it begins to dry)
- Rinse off with lukewarm water and pat dry with a towel
- Follow up with whatever you have in line next! For dry skin, see the repair serum recipe below!
- Keep the bar on a rack or somewhere where it can dry quickly. You can use a solid soap stand or anything that works for you!
Notes:
1. Feel free to substitute peach kernel oil with apricot kernel oil
2. Don’t worry about the cleansing bar falling apart. It’s more solid than you think. Also when applying to the face, you’ll notice how easy it is to scrub it all over and how smoothly it glides!
3. Purple clay may not be available everywhere. In case you can’t find it, feel free to substitute it with pink clay instead
4. If you don’t have any grapefruit seed extract, substitute it with vegetable glycerin
Let’s make this purple & rose clay cleansing bar for Halloween! (oh perhaps, let’s not). Have you tried making this? Do you love it as much as I do?
Stay Wild in Purple!