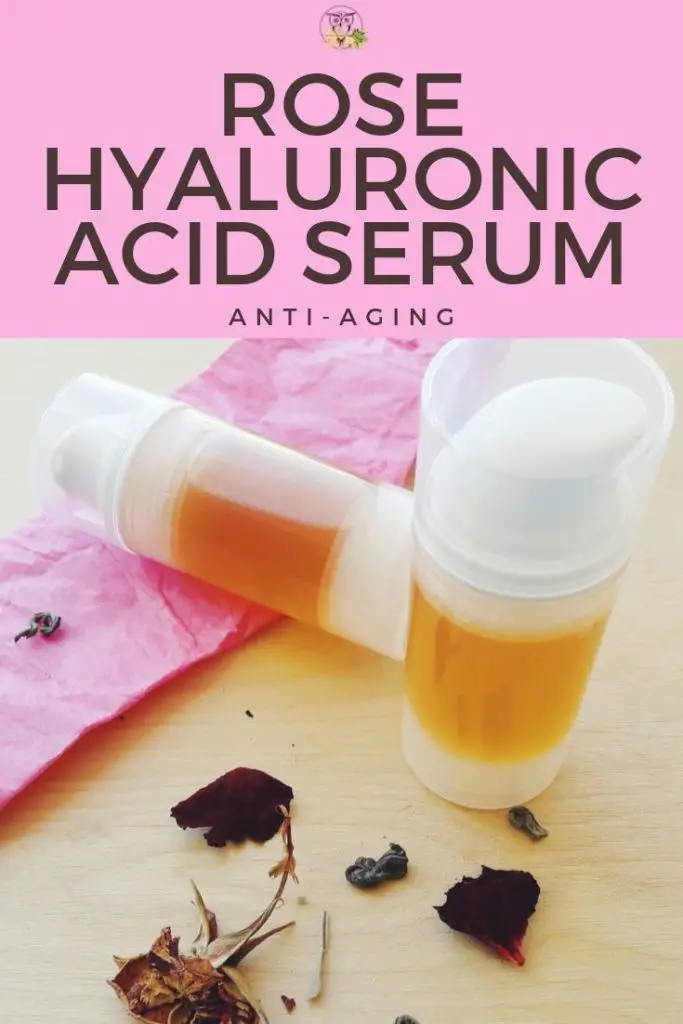
Anti-aging products in shops can cost a fortune. But they don’t have to! Today, I’ll show you how to make DIY hyaluronic acid serum on a budget with fragrant rose and green tea!
You can save money, have fun, and whip up this fragrant serum in no time as it’s also great for beginners! Hydrate your skin in the upcoming winter months. It’s oh-so-fun and oh-so fragrant.
Ready to get glowing? Let’s get whipping!
We’re starting another series of recipes this lovely October morning and it’s all about anti-aging! I got my hands on some especially awesome ingredients recently and I’ll show you how to make hydrating, gentle, and efficient products on the budget since I’ll be using the same scope of ingredients for all recipes. This is a quick project you can make with your girlfriends and you’ll all be loving the hydrating and plumping effects on your skin!
The recipe for hyaluronic acid serum is
Gently fragrant
Very easy to make
Makes a lovely gift
All vegan
Very hydrating
Anti-aging
How do you make hyaluronic acid serum?
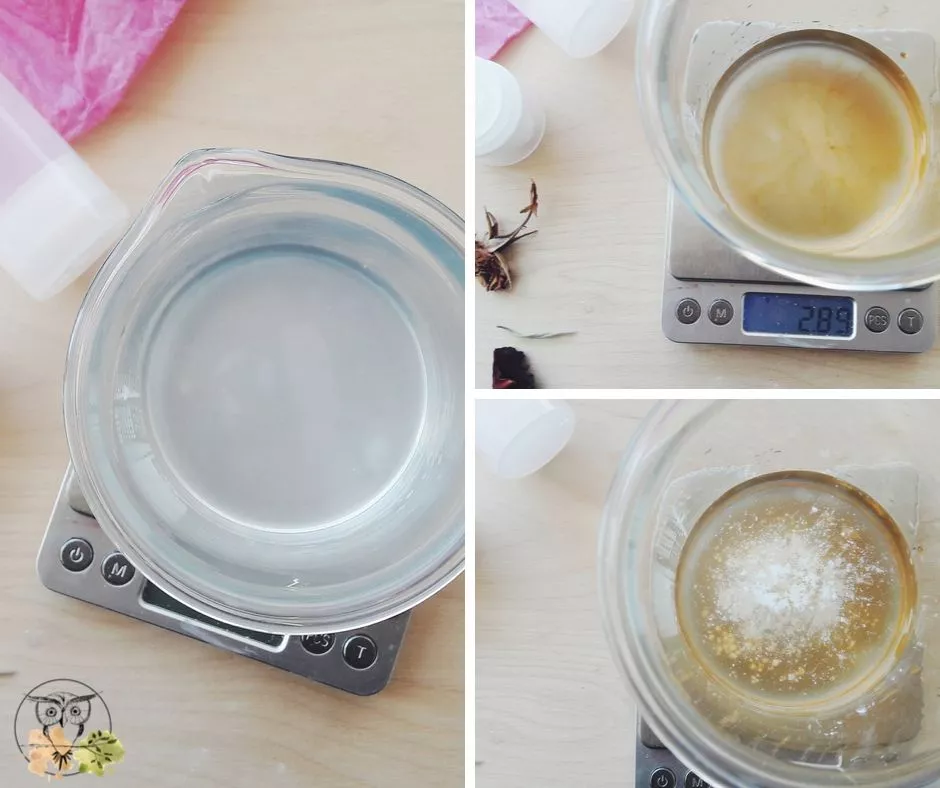
As you’ll see, the recipe is very easy. You weigh the ingredients, combine them in a glass beaker and stir them well. There are two things you need to remember when making this serum (I describe it in more detail further in the article):
- make hyaluronic acid solution before you get into this recipe as you’ll need it. You can then use the solution for any other recipe you want to make. We’ll also need it in the other recipes from this Anti-aging series.
- xanthan gum has to dissolve before you pour everything into a bottle and start using the serum. It will need some time to do that (about an hour or two), so add that into the time you need for the recipe. Everything else is very easy and straightforward.
How do you make a hyaluronic acid solution?
Here’s what you need to make 1% HA solution at home:
- 98.5g distilled water
- 1g sodium hyaluronate powder
- 0.5g Cosgard
In a glass beaker, weigh and combine distilled water with HA. Stir well and let the mixture sit a few minutes. Next, add the correct amount of your preservative (I use Cosgard, but you can also use Liquid Germall Plus). Transform the mixture into a clean dry container.
And that’s it! You’ve just made a 1% HA solution! Now you’re ready for the recipe!
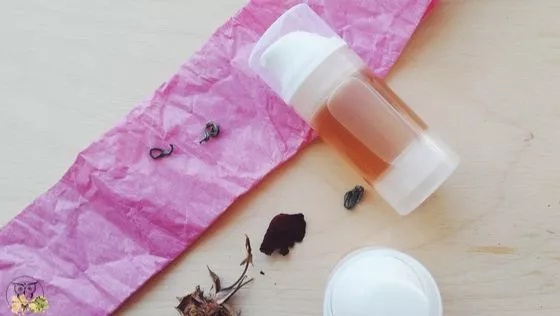
DIY hyaluronic acid serum recipe ingredients
Between you and me, I didn’t know I needed this serum until I started testing it. Now, I’m completely addicted to it and my dry skin is no more! I apply it in the morning and in the evening and my skin just couldn’t love it more.
Sometimes I pair it with this DIY lightweight moisturizer and grapeseed facial oil. But it general, I’ve noticed that my skin soaks it all in and it’s become a base for pretty much anything I slather on my face.
I designed the recipe to be hydrating for the upcoming winter months when our skin needs extra care, but I’m sure it would work great at any time as well. I also wanted something anti-aging; you know: minimize fine lines, evenly tone the skin, and all that good stuff. So I started testing the ingredients and it turned out amazing!
Rose hydrosol and green tea extract make a great match in terms of scent; I became addicted to the gentle floral yet herbaceous scent that’s so mild yet pleasant. There aren’t any essential oils in this recipe because I didn’t feel the need to include them. I really wanted to keep it as powerful and simple as I could!
Now, let’s have a look at the benefits all these gorgeous ingredients have on our skin!
Rose hydrosol
Rose hydrosol is beautifully fragrant and I love it in the recipe as it makes it gently aromatic. It’s a great humectant and helps to hydrate and tone the skin. what’s more, it has anti-aging properties and it’s suitable for all skin types.
Hyaluronic acid
I’ve been playing around with hyaluronic acid since this spring. I must say, I wasn’t convinced when I first made a very basic toner with it (just some hydrosol and sodium hyaluronate powder, a water-soluble form of HA). But, I caved in eventually and realized it could work great in recipes with a few tests and trials.
FYI, there are a few different types of hyaluronic acid available. You can choose between
- High-molecule (hydrates the top layer of the skin)
- Low molecule (penetrates through the skin and hydrates the deeper skin layers)
In the recipe, I used low molecule acid. When you make the dilution, don’t panic. You’ve probably seen videos where the sodium hyaluronate powder turns into a gel. Mine didn’t and I thought I bought a powder gone bad. It turned out that low molecular acid doesn’t make a gel at all, only the high molecule one does.
So, we’re still making a dilution, but since it doesn’t turn into a gel, we’re adding a few grams of xanthan gum to the recipe, to bind it all together.
Okay, so what’s the fuss with this acid you wonder? Well, if you’ve tried any serum made with hyaluronic acid you know how supple and hydrated it makes your skin feel. It’s a premium ingredient in the recipe (it also sells like one) and while it’s on the pricey side, a little goes a long way.
This acid helps to retain moisture in the skin, reduce dry skin, and minimize the appearance of wrinkles. It makes the skin appear smoother and more youthful. It boosts the skin’s elasticity and firmness as well! The best part? I started noticing the results quite fast. After all, I’ve never used a hyaluronic acid serum before until I started working with it.
Green tea extract
I’ve recently discovered green tea extract and I love it. it smells like green tea, it has lovely properties for the skin and it’s easy to use it!
Green tea extract is a strong antioxidant which means that it helps to fight the free radical damage on our skin. that’s how it helps to slow down the signs of aging, keeping our skin healthy and happy. It’s also useful anti-inflammatory and astringent properties.
It’s also hydrating for the skin as this 2013 study showed and it helps to improve the elasticity of the skin according to this 2005 study.
Caffeine powder
I’ve written about caffeine powder and it’s one of my fave ingredients for DIY skincare. Caffeine helps to boost microcirculation in the skin and it boosts dull and tired skin. it has anti-puffing effects and it helps to tighten the skin as well as minimize fine lines and wrinkles. I’ve used it in this de-puffing facial toner and in my lightweight facial moisturizer.
Xanthan gum
Xanthan gum plays a role of the thickener in the recipe. I added only 0.11g to the original recipe but I thought the consistency was too runny, so I changed the amount a bit. The product is still runny but I love it just the way it is.
Apart from that, xanthan gum is pretty versatile. Now it doesn’t thicken up the products as nicely as I’d want it to. When I add too much, it acts and looks like a slime and not gel-like enough. But, it’s cheap, accessible, and it does the trick well enough.
What’s more, I found information that it’s also supposed to be slightly hydrating for the skin. there are many hydrating ingredients in this recipe, so I can’t tell, but it’s generally useful as it’s natural and improves the stability of the products.
Vegetable glycerin
Vegetable glycerin acts as a humectant in the recipe. In other words, it helps to attract and lock the moisture into the skin, helping to soften it and smooth the complexion. It also helps to protect the skin, regulate oil production, and boosts skin’s elasticity. It helps to boost skin regeneration and minimize fine lines and wrinkles (source).
Calendula extract
This is just a beautiful ingredient. It’s soothing for the skin, healing it and nourishing it with its components. What’s more, calendula is full of antioxidants and it helps to protect the skin from the free radical damage.
It also helps to increase the hydration of the skin, boost skin tightness and has anti-aging properties.
DIY hyaluronic acid serum preservative
This is a water-based product, so it needs a preservative to keep it safe from nasties that could start growing in this beautiful hyaluronic serum. I used Cosgard (which has been my go-to preservative for a long time now). Cosgard (also known as Geogard 221; INCI: benzyl alcohol (and) dehydroacetic acid) is a broad-spectrum preservative and it’s always done its job properly (as far as I can tell). You can use any preservative that you prefer instead, but make sure it’s broad spectrum and water-soluble. Whatever you choose, make sure that you adjust the correct amount to the recipe. And FYI, essential oils, rosemary extract, and similar ingredients are not preservatives and won’t help much in this recipe.
Rose and Green Tea Homemade Hyaluronic Acid Serum
Ingredients:
- 55g distilled water
- 25g rose hydrosol
- 12g hyaluronic acid solution 1% (you need the hyaluronic acid powder to make it, see recipe above)
- 3.3g green tea extract
- 2g calendula extract
- 2g vegetable glycerin
- 0.13g xanthan gum
- 0.02g caffeine powder (available from Ingredients To Die For)
- 0.37g Cosgard
Process:
- Add glycerin to a glass beaker and weigh in xanthan gum. Stir well, add water and stir a bit more
- Let the xanthan dissolve in the water (up to a few hours)
- Next, add in the other ingredients and stir well
- Pour the mixture into a pump bottle; you can also use a dropper bottle for the least mess in the bathroom.
- Use at will!
Notes:
- You could substitute rose hydrosol with a different hydrosol with similar properties.
- You can omit caffeine if you have none (although I don’t recommend it) and substitute it with 0.02g green tea extract
Homemade hyaluronic serum: is it worth it?
HA is a very beneficial ingredient in terms of keeping the skin young, hydrated, smooth, and well, wrinkle-free. When you first purchase the ingredients to make DIY HA serum at home, it seems a bit much, I completely agree. But in the long run, think about how much serum you can make with all these ingredients in the long run!
A little of this DIY face serum with HA goes a long way and it’s easy to make. There’s not warming involved, no cooking, no serious science. You weigh, you mix, and pour. You can whip it up in a matter of minutes (okay, xanthan needs to dissolve) and start enjoying the product right away. The gentle green tea scent mixed with roses is gorgeous and so is the skin when it soaks in the serum like a sponge.
Have you made this recipe? Tag me on Instagram: #wildfordiy
Stay Wild,
Kat
Help support Wild for Nature
Many of you have asked if there’s a way to help support Wild for Nature. I’ve signed up for Buy Me Coffee. If you love what I do, learn from me, sell anything you made from my recipes, and want to see Wild for Nature grow even more, I’d be thrilled if you’d consider buying me a coffee! It works as a one-time or a monthly donation of $3. You can also get beautifully designed PDFs with a series of recipes and other resources I publish there, to help you learn and get creative at home! I can then use that money to further develop and grow Wild for Nature and you can help me continue with wild creations and resources!
I’m excited to make this hyaluronic acid serum! Do you think it can be used around the eye area and on your eyelids?
Thank you!
Hey Sarah, thank you! I really hope you’ll like it as much as I do. And yes, you can absolutely use it around the eye and eyelid area; I’ve had no issues with it at all apart from the fact that it makes my skin very soft (so I can’t xomplain at all). Let me know how it works for you! Thank you for DIYing with me 🙂
Thank you for creating such a great blog! I am planning to use Germaben II for the serum. I was thinking of using between 0.50g and 0.60g since your guide advises usage of 0.5 to 1%. Do you think that will work well? Should I increase/decrease the amounts of any other ingredients?
Hello Sarah, thank you for such a nice comment 🙂 . Your idea of adding 0.5 to 0.6g seems reasonable and it should work. Test it out and let me know how it was! And yes, you’ll have to decrease the amount of other ingredients, you can decrease the amount of water. Hope that helps! Happy crafting!
Thank you for this decadent recipe! Curious if your familiar with aspen bark extract for a broad spectrum preservative. Also, what low molecule hyaluronic acid do you recommend? I did not see a link for this. Many thanks!
Hey Rachel and thank you :). Now, I’m not really familiar with that extract. Check the recommended pH of the preservative you’re using and then see what’s the approximate ph of the aspen bark extract. You can always change the ph levels of the product to make it suitable for a specific preservative. Regarding hyaluronic acid, I recommend this one from MakingCosmetics. Hope this helps. Happy crafting!